

 A common question asked by our customers is; do you paint furniture for customers? The answer is yes! I love to do custom furniture painting for customers and help them bring their vision to life. Some custom jobs are easy, just a simple single color application with clear wax. However, some projects require a lot of TLC. Like my current project, “Matilda.”

I give these long-term projects names. I’m not quite sure what Matilda’s story is; what we know is that she had been assembled by combining several pieces of furniture. It appears that her base may have been a harpsichord with a desktop and cubbies and drawers added and a cupboard resembling a glass front kitchen hutch on top. Matilda is a family heirloom, which makes this project so much more exciting and fulfilling.
Matilda who was abandoned in a basement in Western Pennsylvania next to a coal furnace was covered in black soot. She had been tragically cut in half to remove her from the cellar as the steps were too narrow.
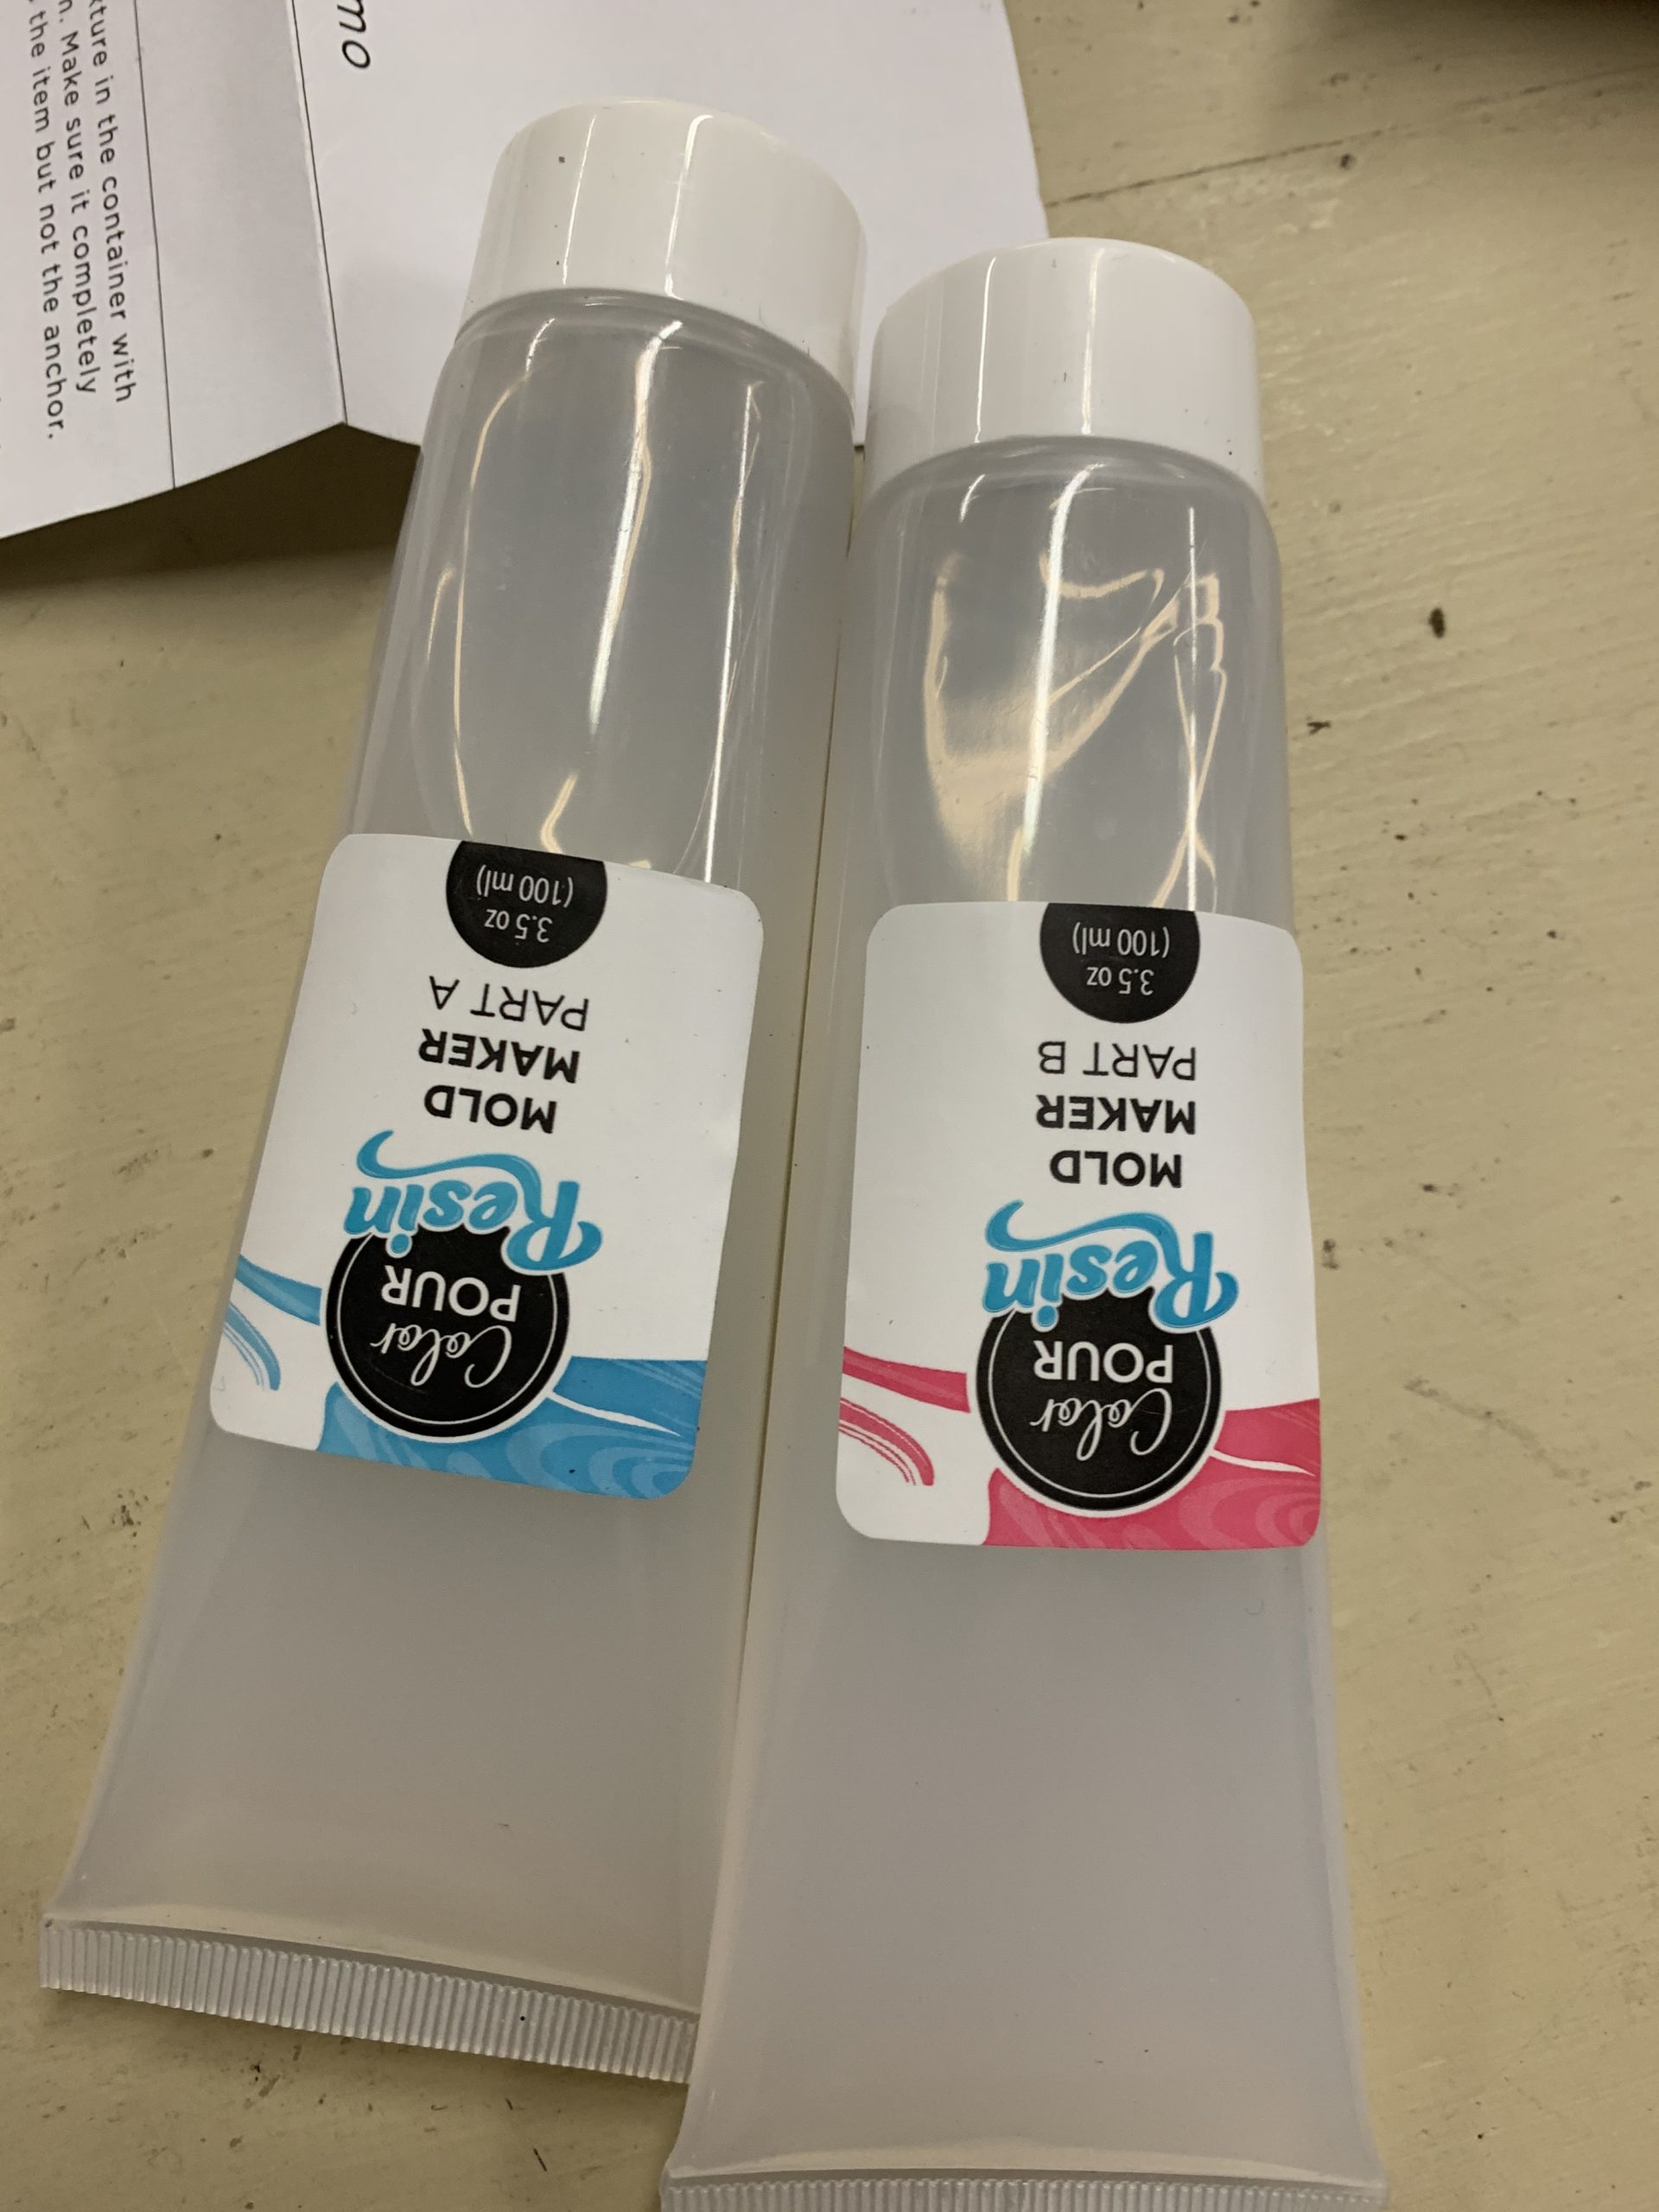
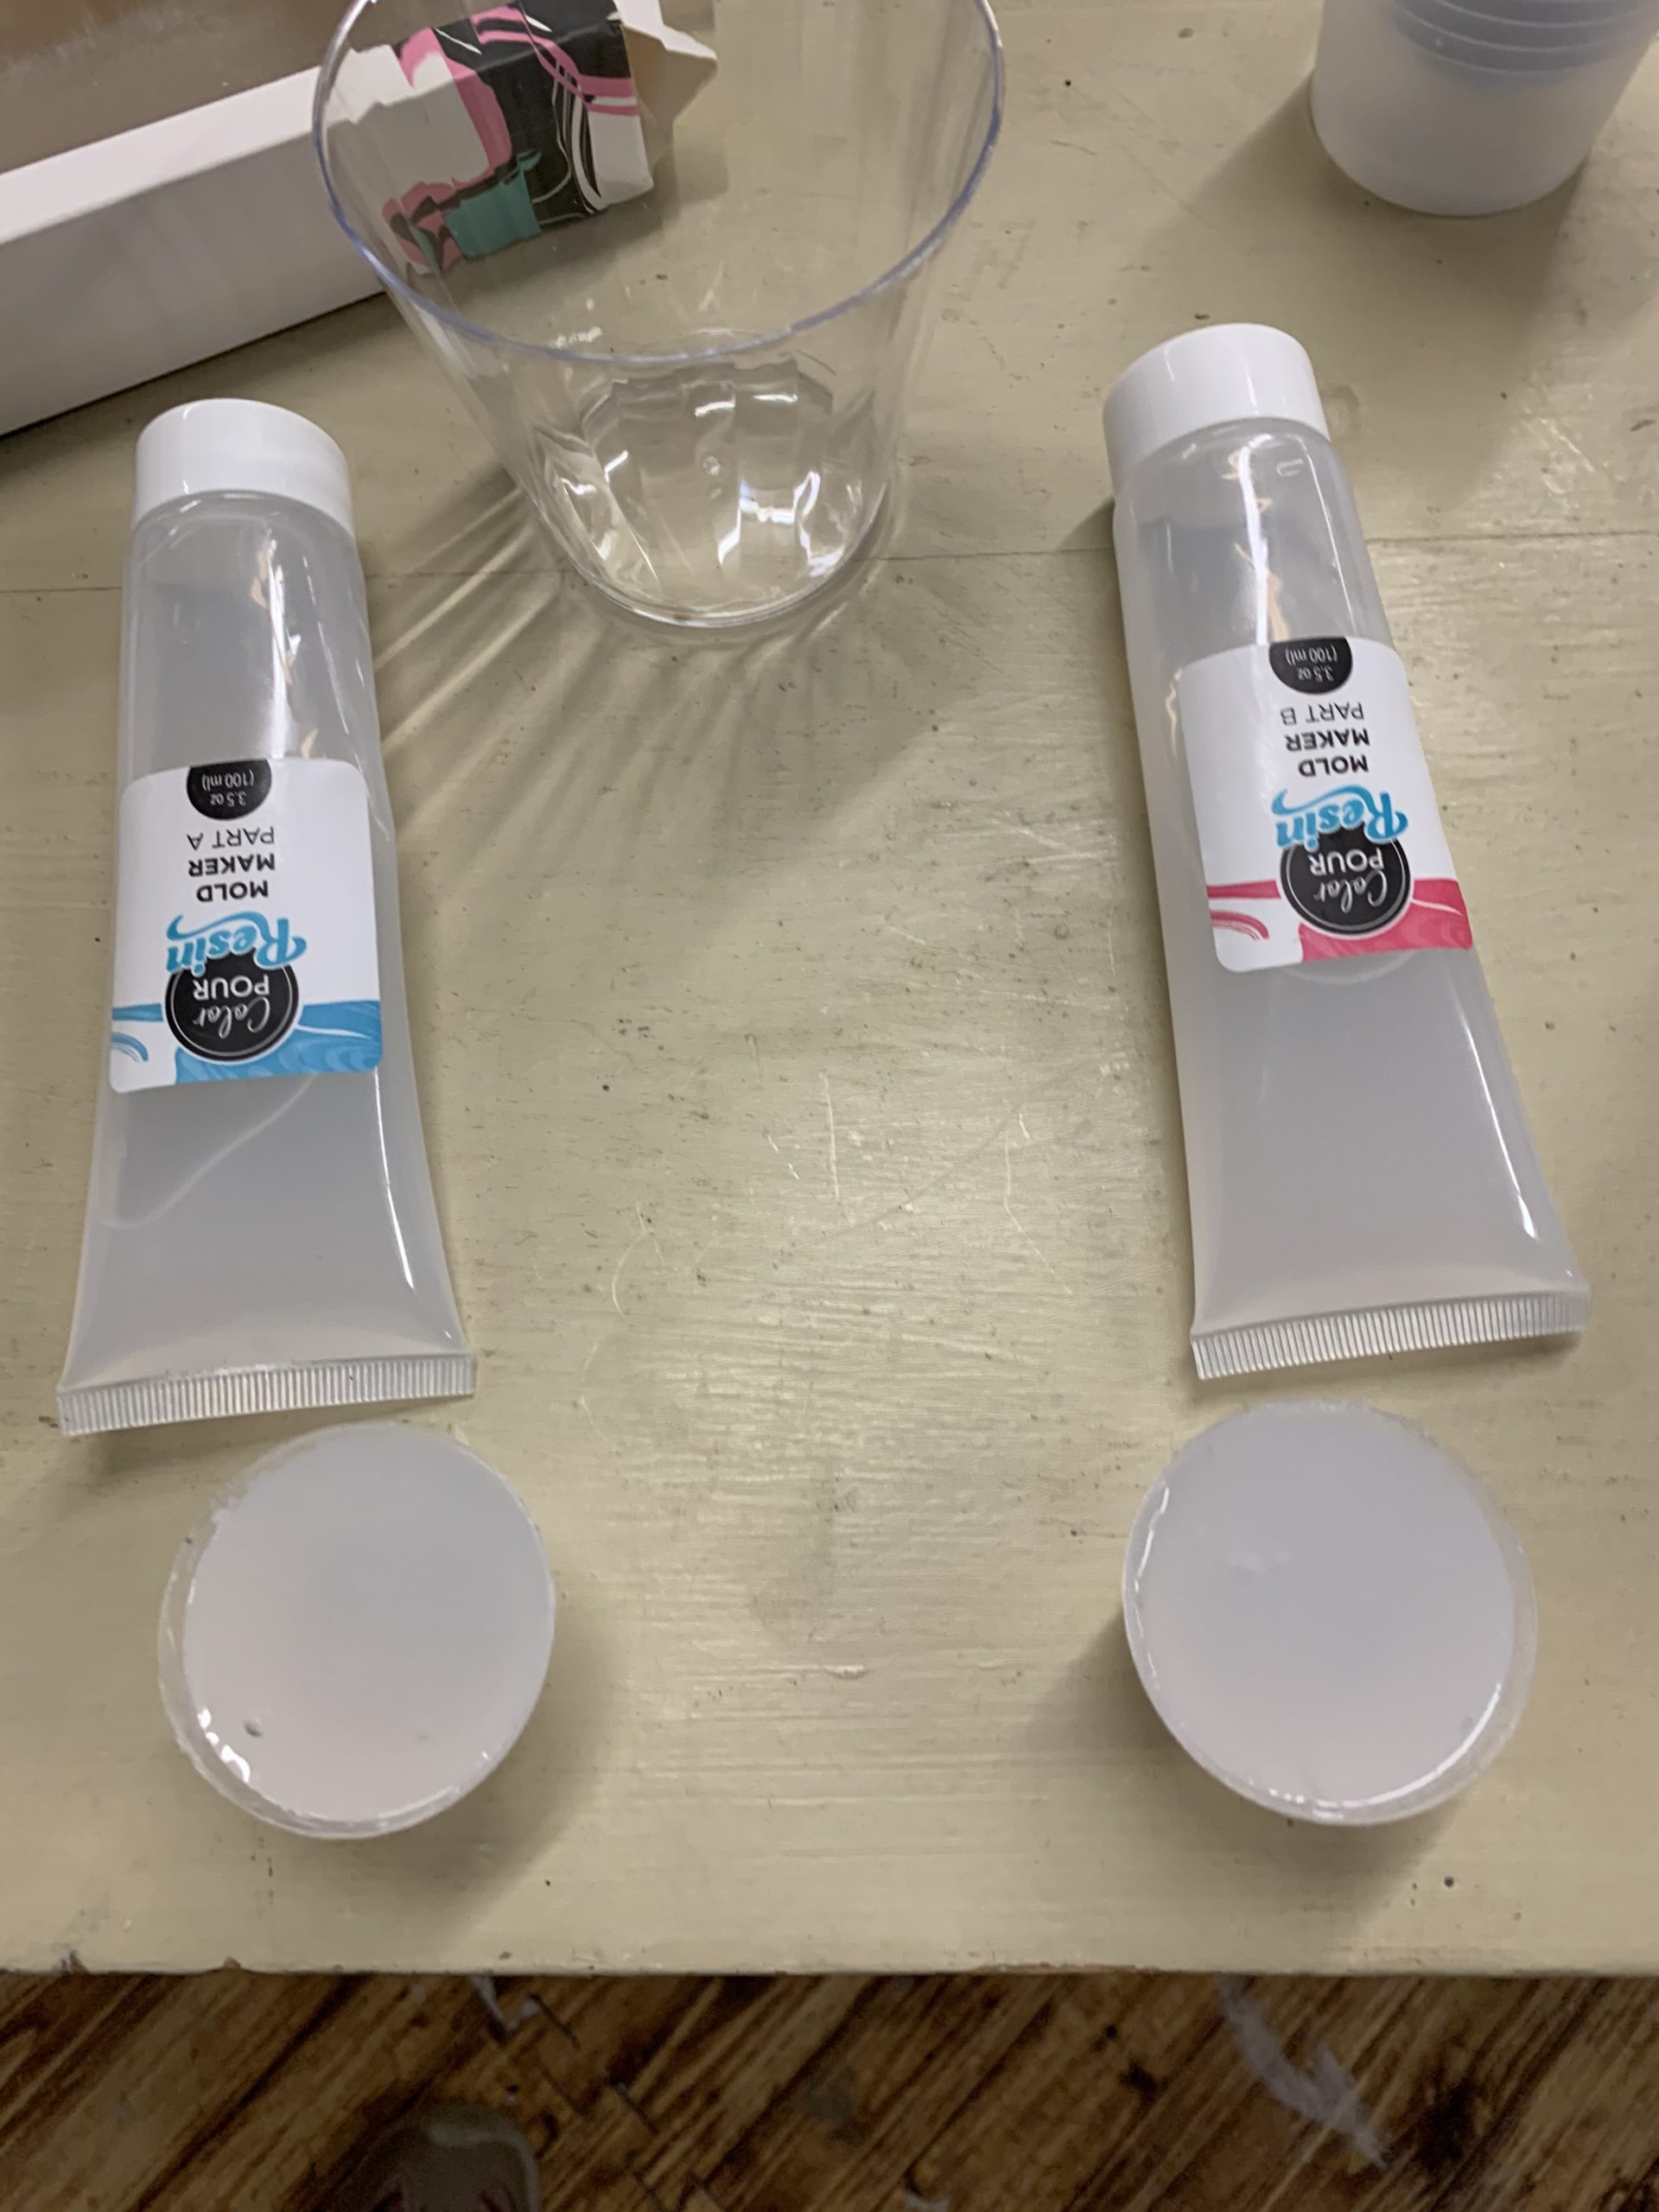
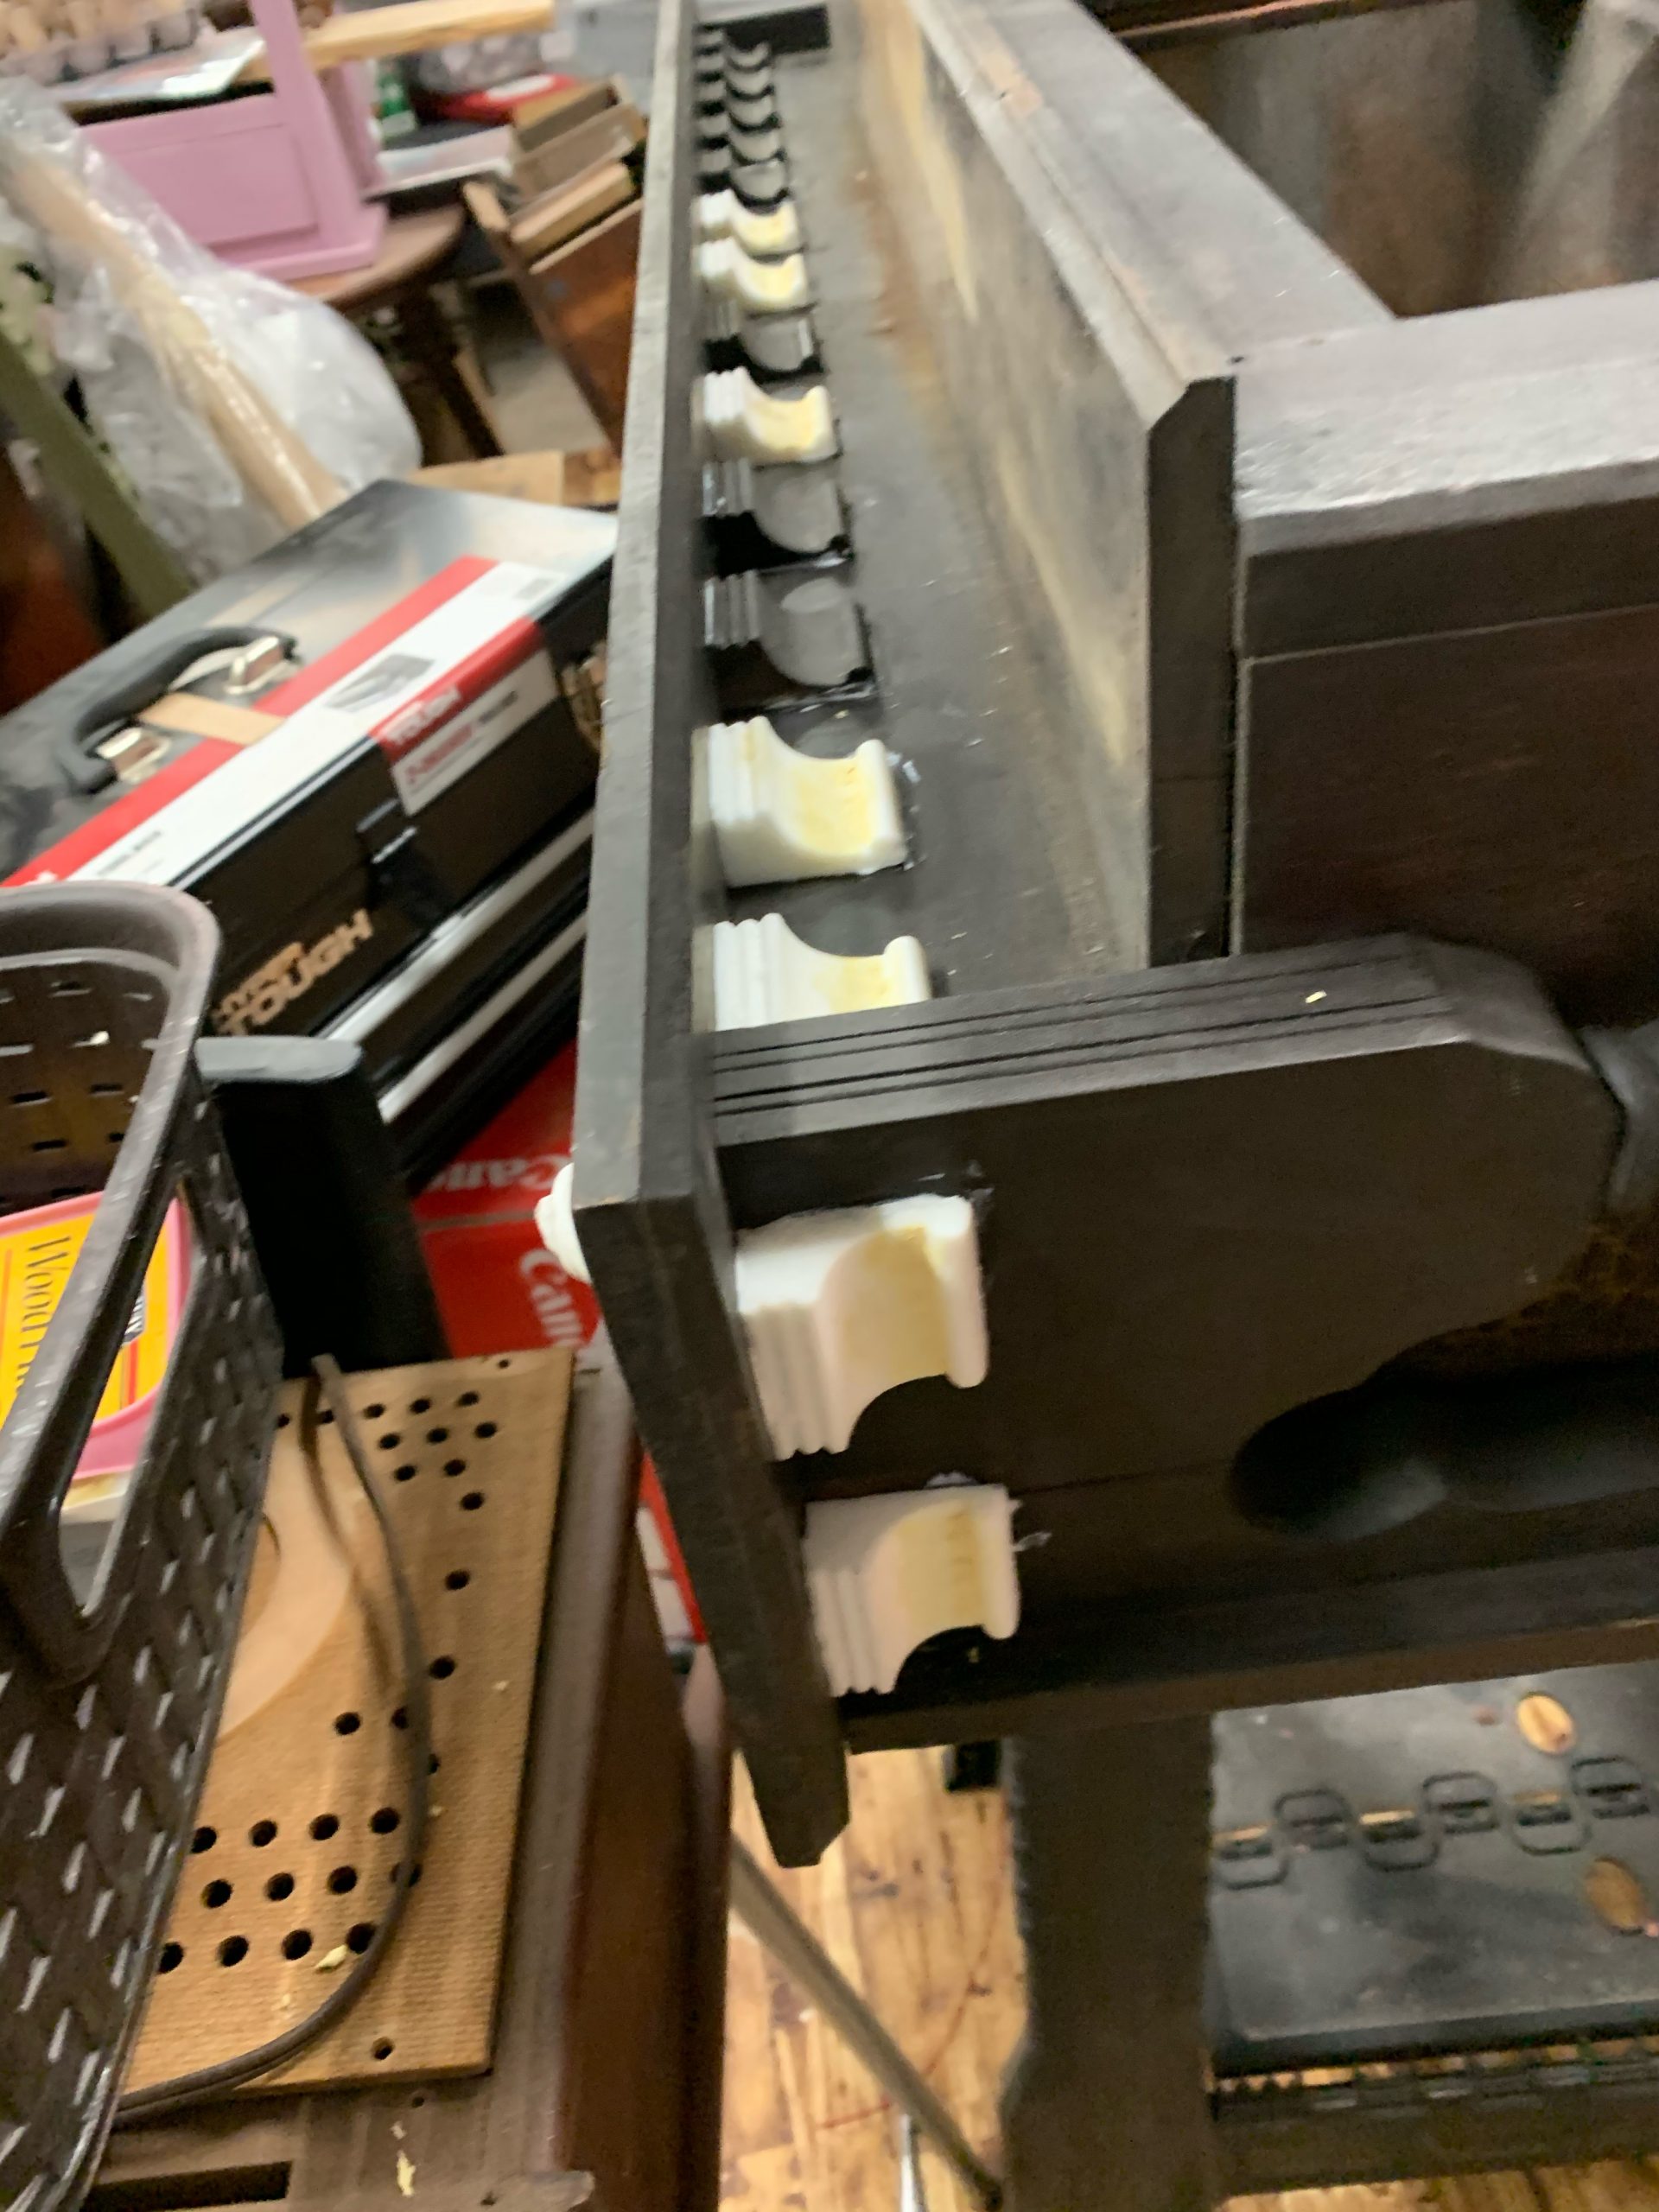
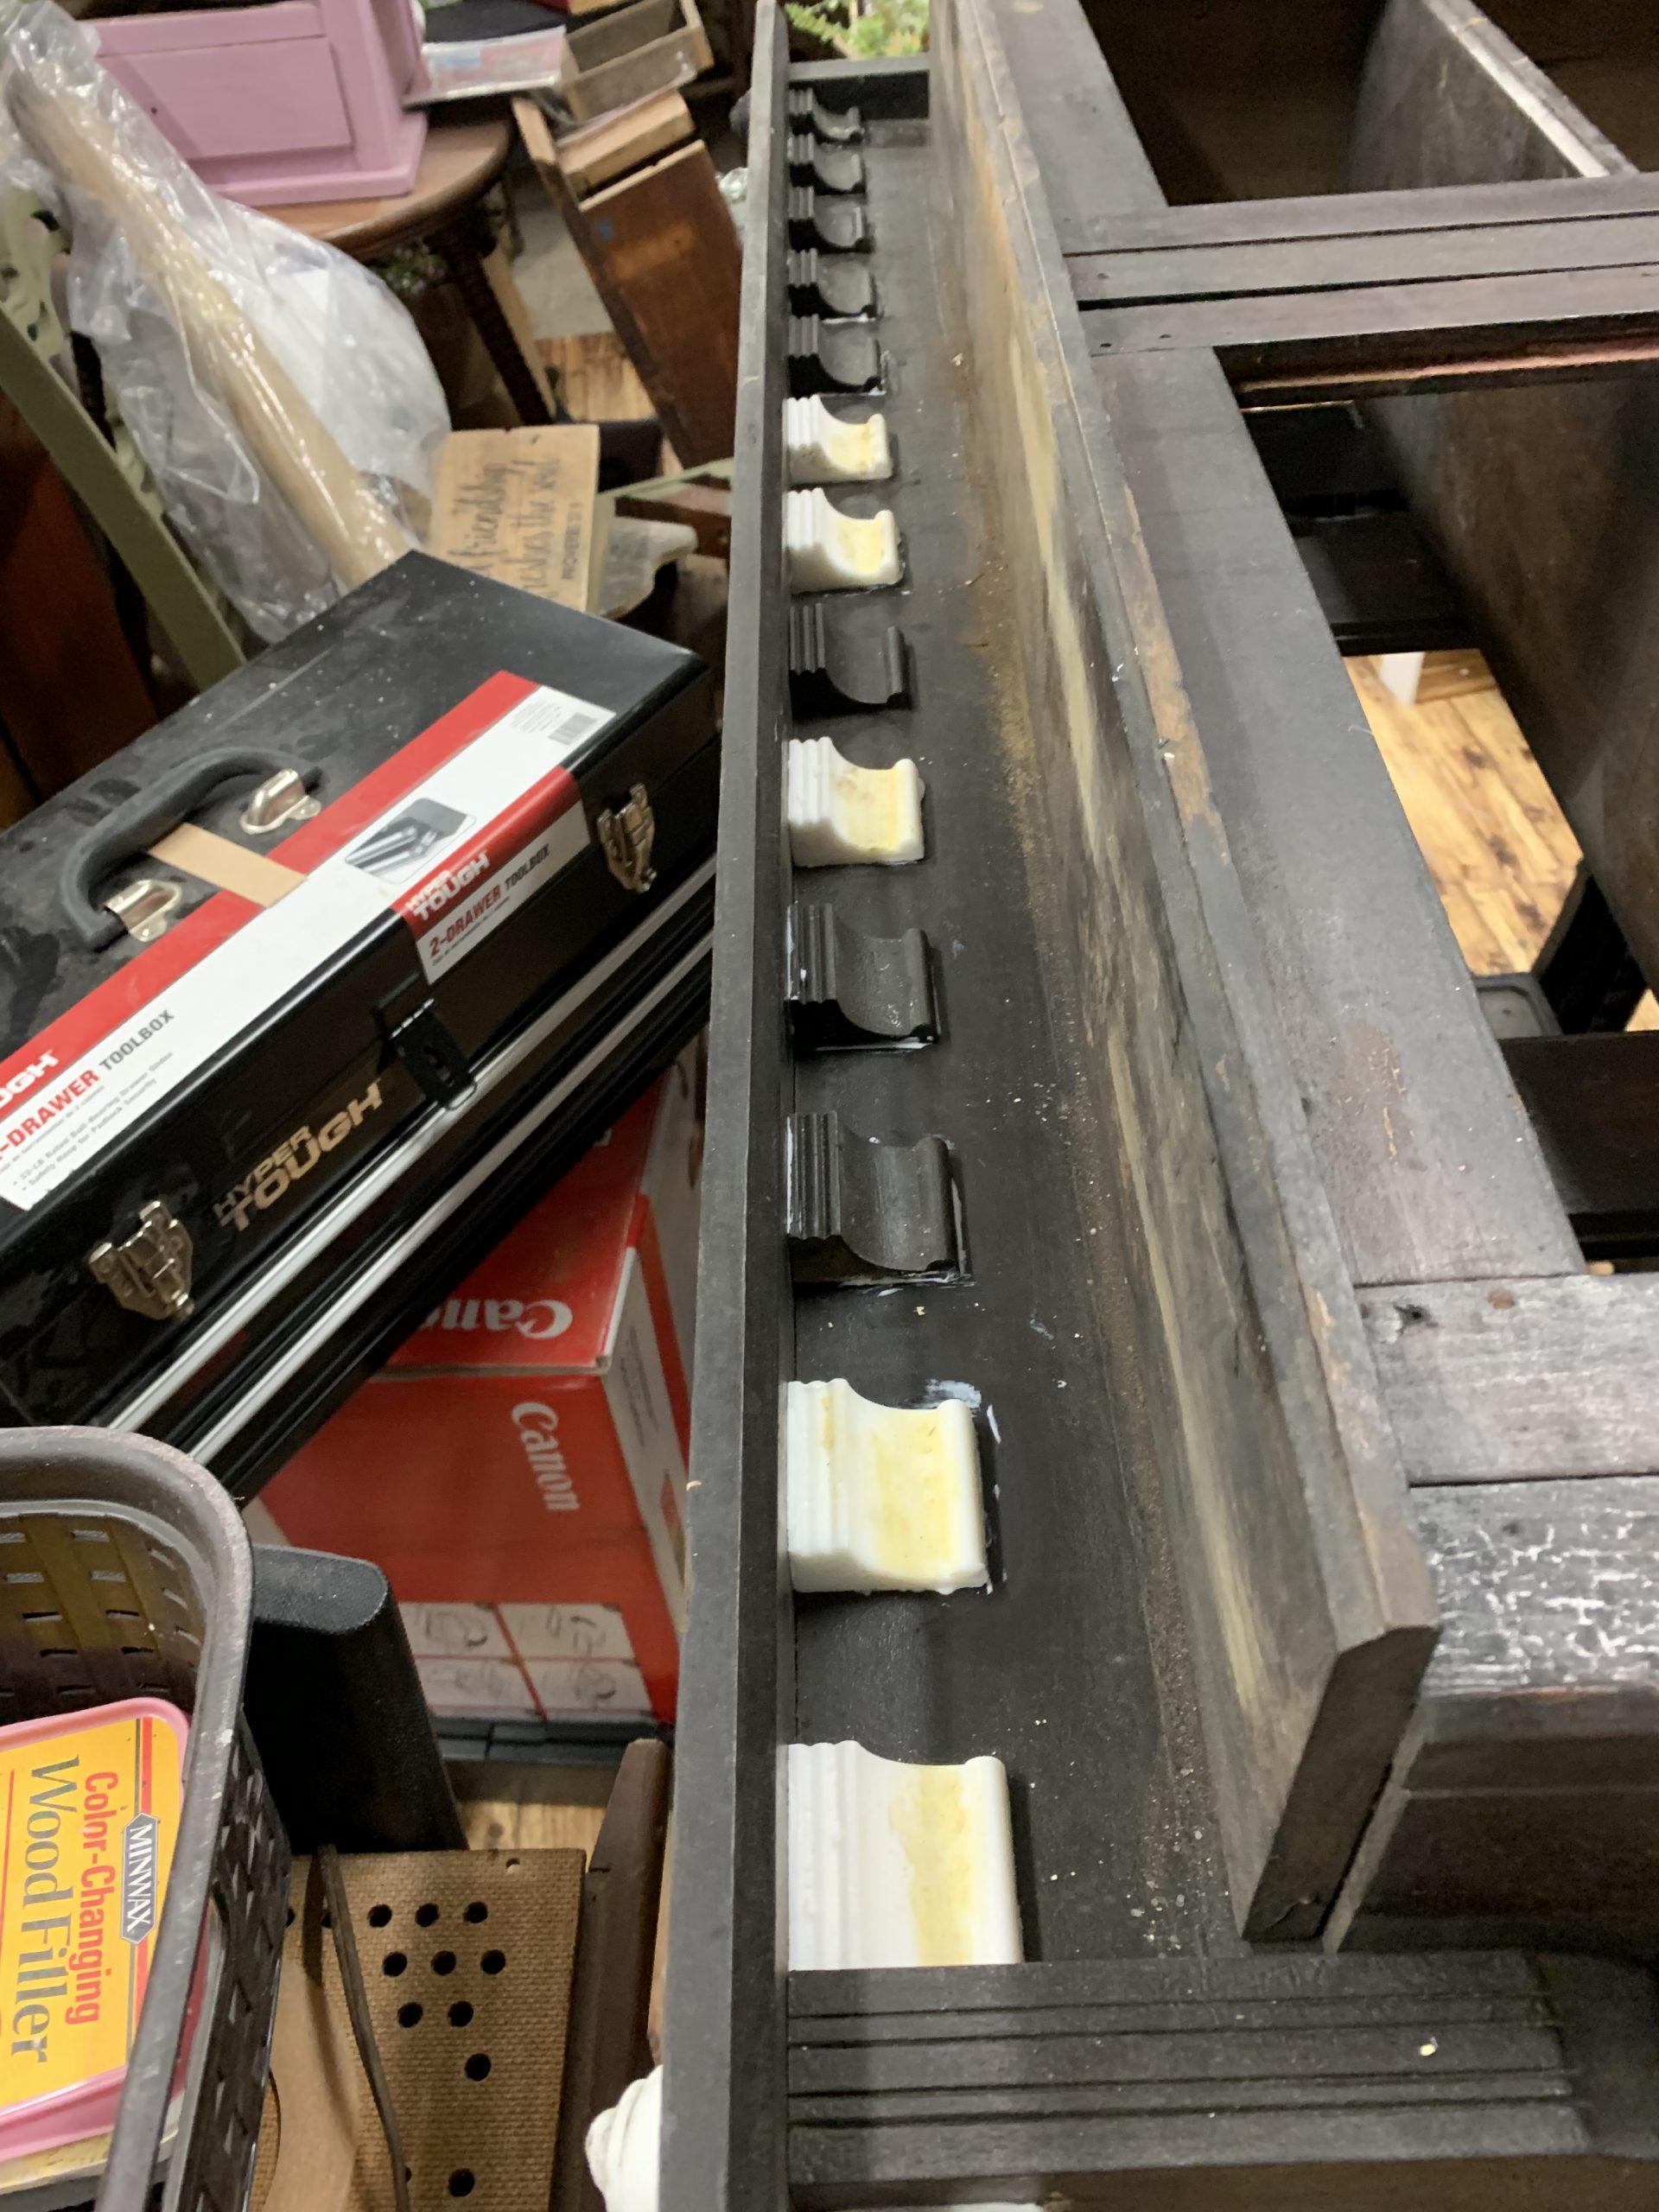
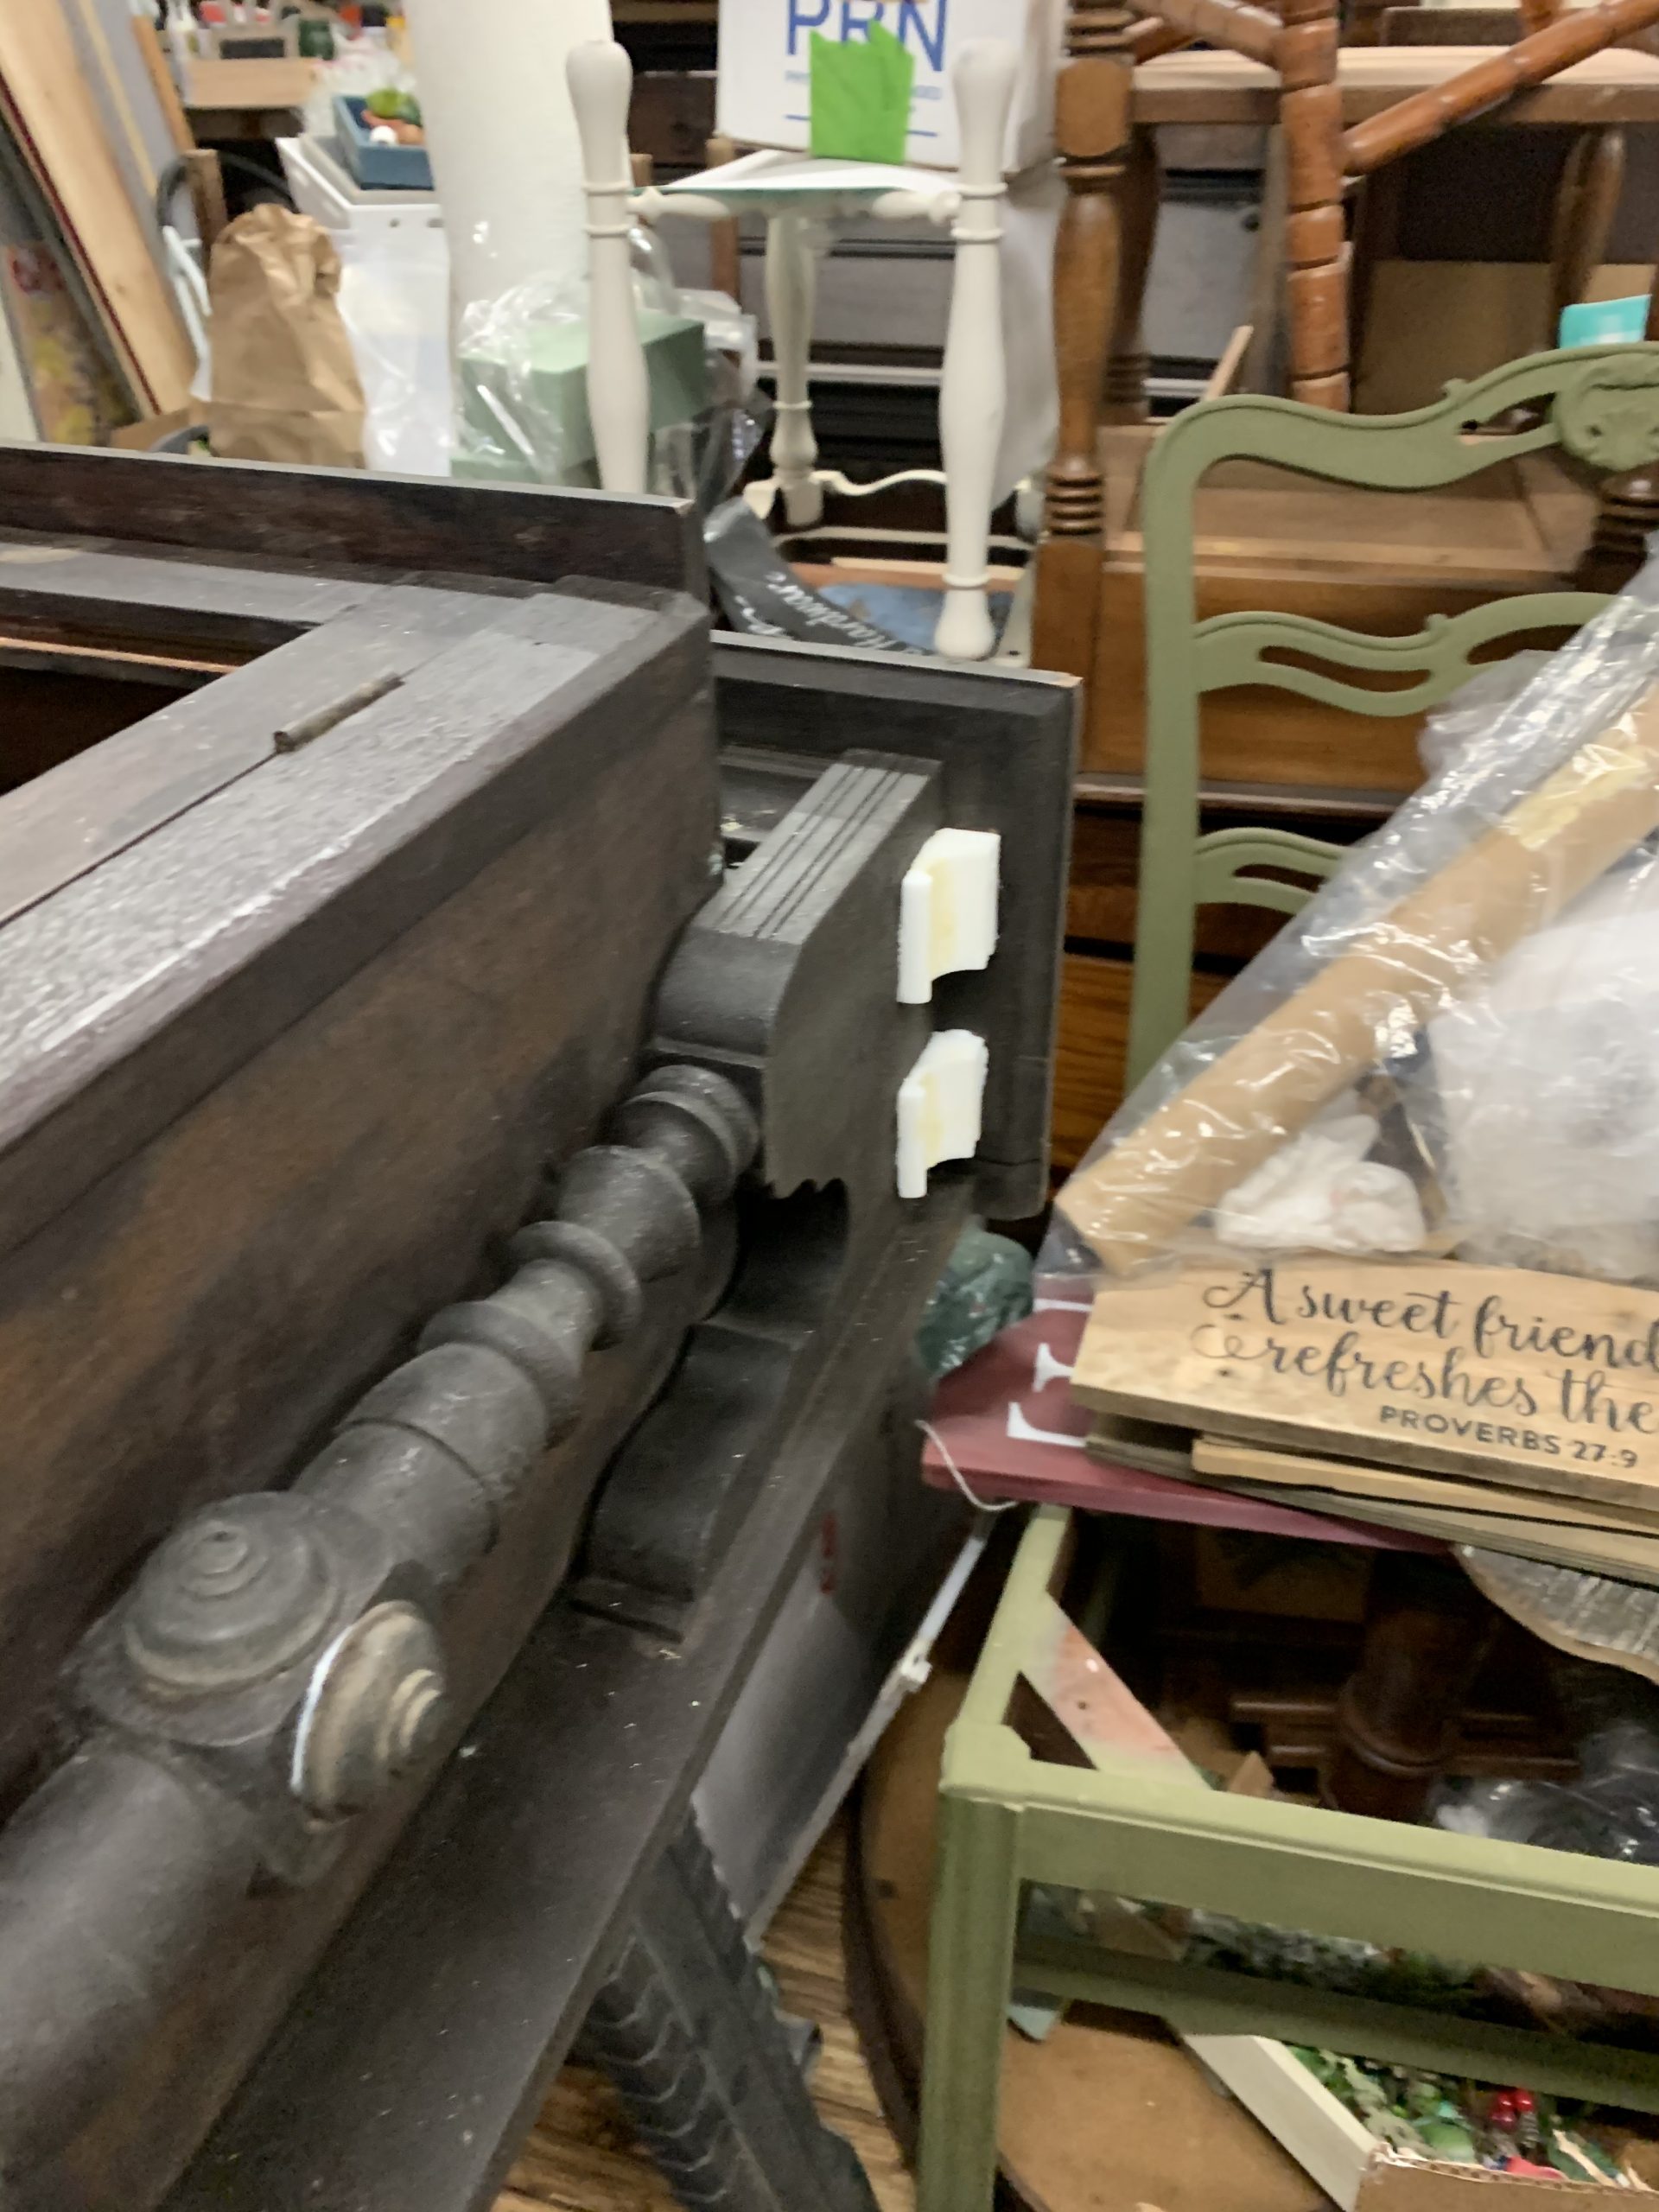
My first step was to scrub the top section and access the damage. Matilda had some missing corbel type molding trim and some other small pieces of “gingerbread.” I was able to replace the missing parts by making silicone molds and resin to duplicate the components.
After I cleaned Matilda and having her missing trim replaced, I applied a coat of Shellac. Using Shellac is essential; it creates a seal, keeping any talons (defects In the wood that rise to the surface and develop brown spots) from bleeding through the

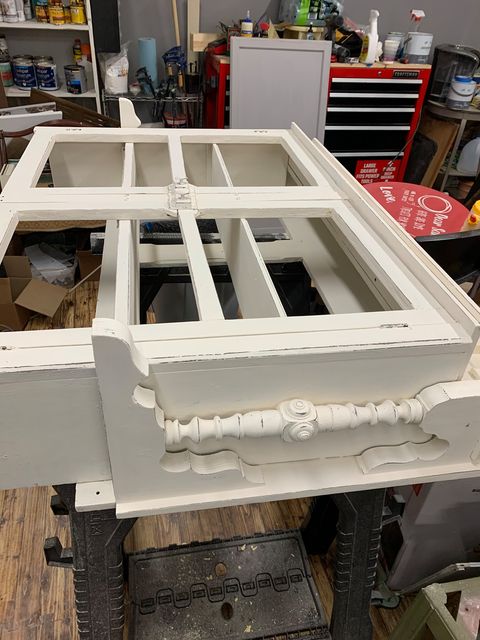
paint. The Shellacking process also helps the Chalk Paint© to not be fully absorbed into the old dry wood saving on the amount of paint needed. Since the customer chose to paint Matilda in the Original color of Annie Sloan Chalk Paint. It was very important to create this seal.
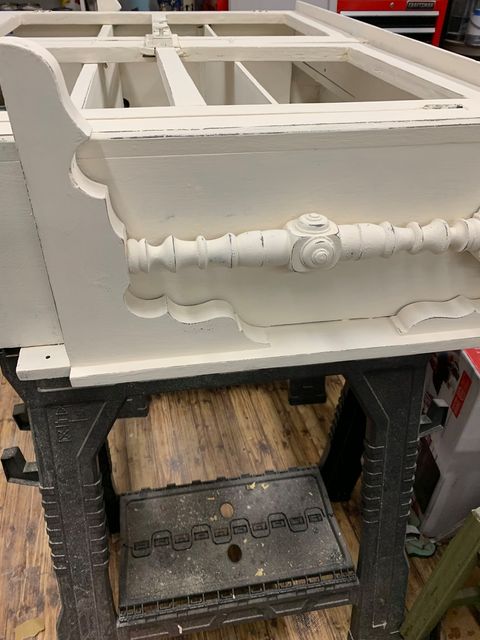
After the topcoat was applied to Matilda’s top, I distressed the entire piece using 120 grit sandpaper. Then, applied a coat of Chalk Paint Clear Wax.
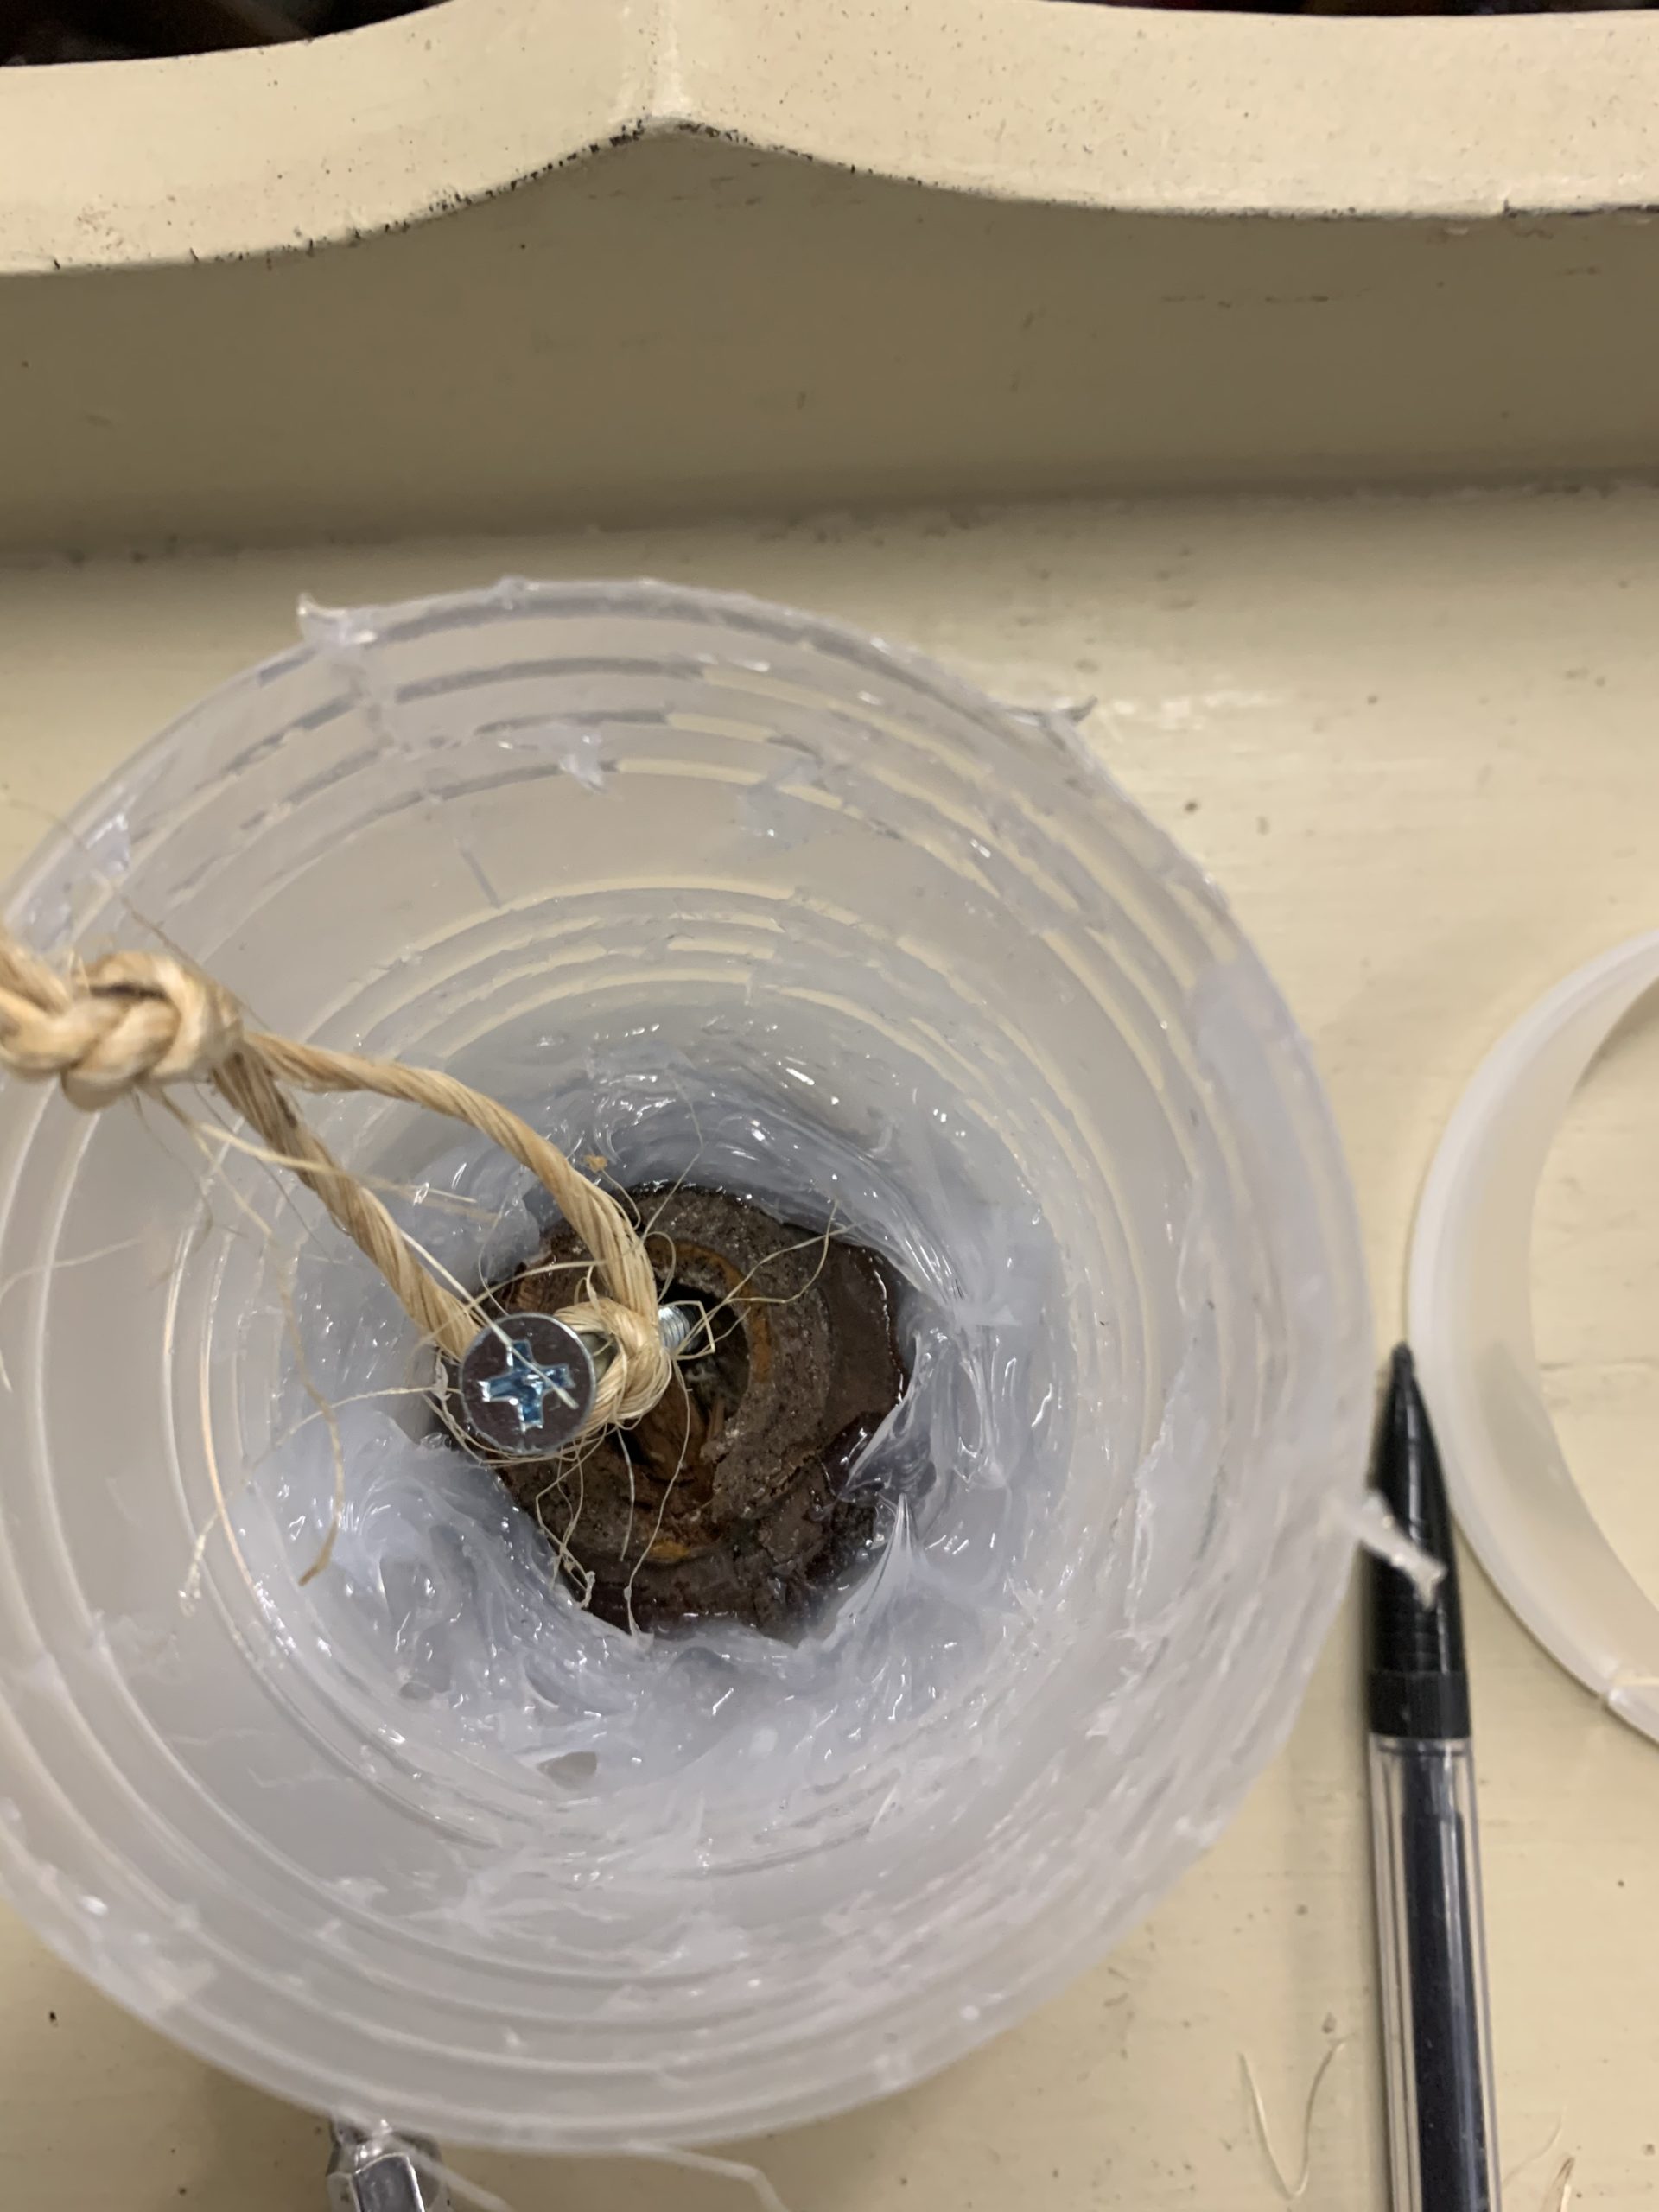
With the top completed, I started on the base. In the initial assessment, I discovered one piece of trim missing and gathered the pieces that had been cut off to get her up those basement steps. Unfortunately, when I moved her across the floor, I discovered one of her feet was rotten and needed to be replaced. So as of today, I have replaced her foot, made the silicone mold for the missing trim, and rebuilt the interior framework so the amputated part can be reattached.


